Start
PeripheralCrate :
- The PeripheralCrate runs on emupc as user slice.
- Before starting the PeripheralCrate make sure that the drivers are loaded
- Connect to emupc using :
ssh emupc -l slice
- Do a /sbin/ifconfig. You will get following output :
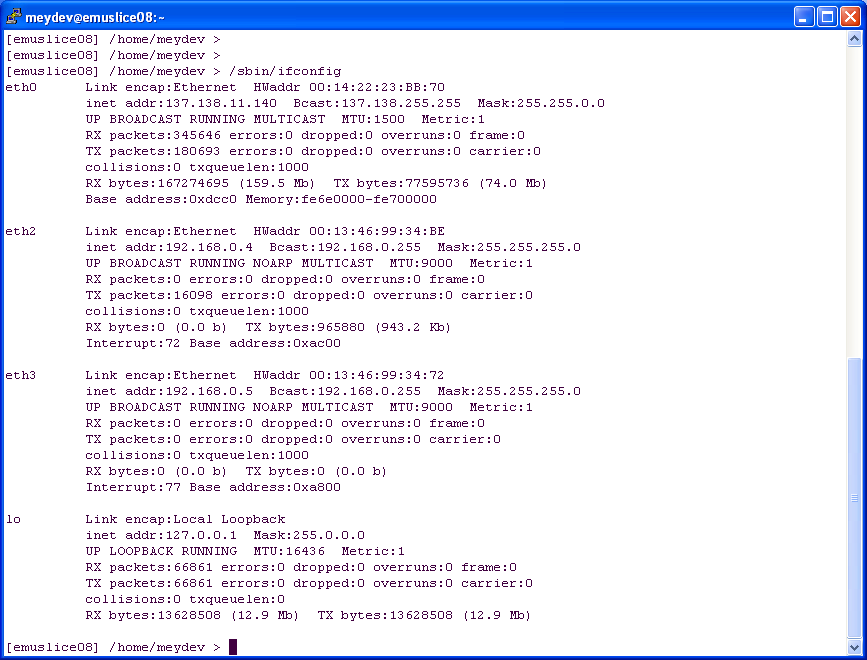
- Make sure that you have entries for eth2 and eth3. If not you need to reset the driver. Do following :
cd $XDAQ_ROOT/emu/emuDCS/drivers/modules2OSUcc
Now as root do a :
./ethreset
Starting the PeripheralCrate xdaq application :
- On one xterm connect to :
ssh emupc -l slice
- Then launch 2nd xterm on emupc.
- In 1st xterm run :
~/startPeripheralCrate.sh
- In the 2nd run :
~/startLoggingServer.sh
==> Now the PeripheralCrate xdaq application and the logging server are running
-Connect to the PeripheralCrate xdaq application using a web browser and connect to following URL:
http://emupc:40010
- You should see following display :
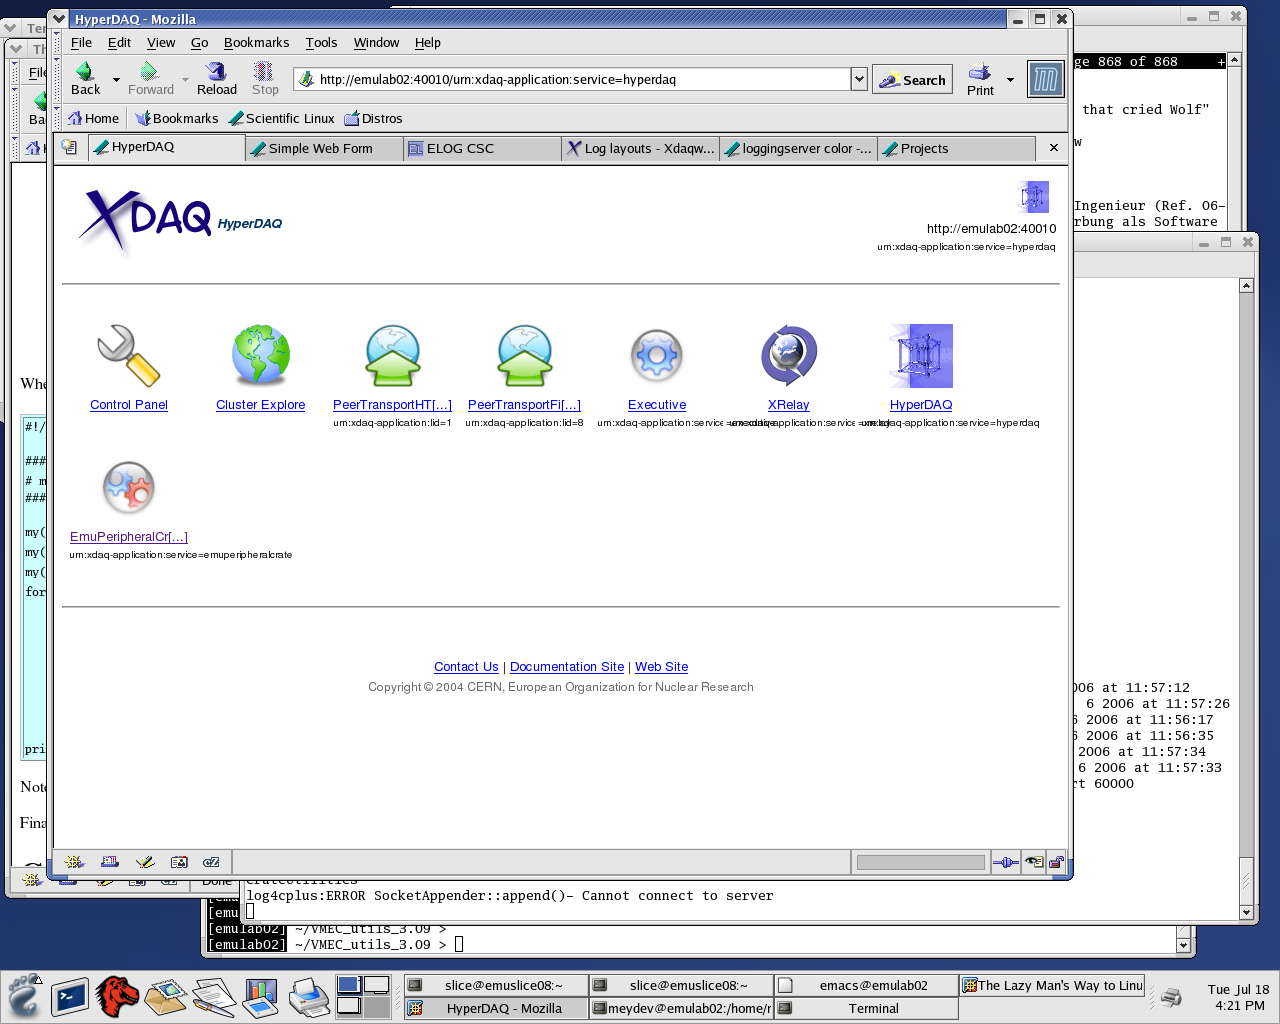
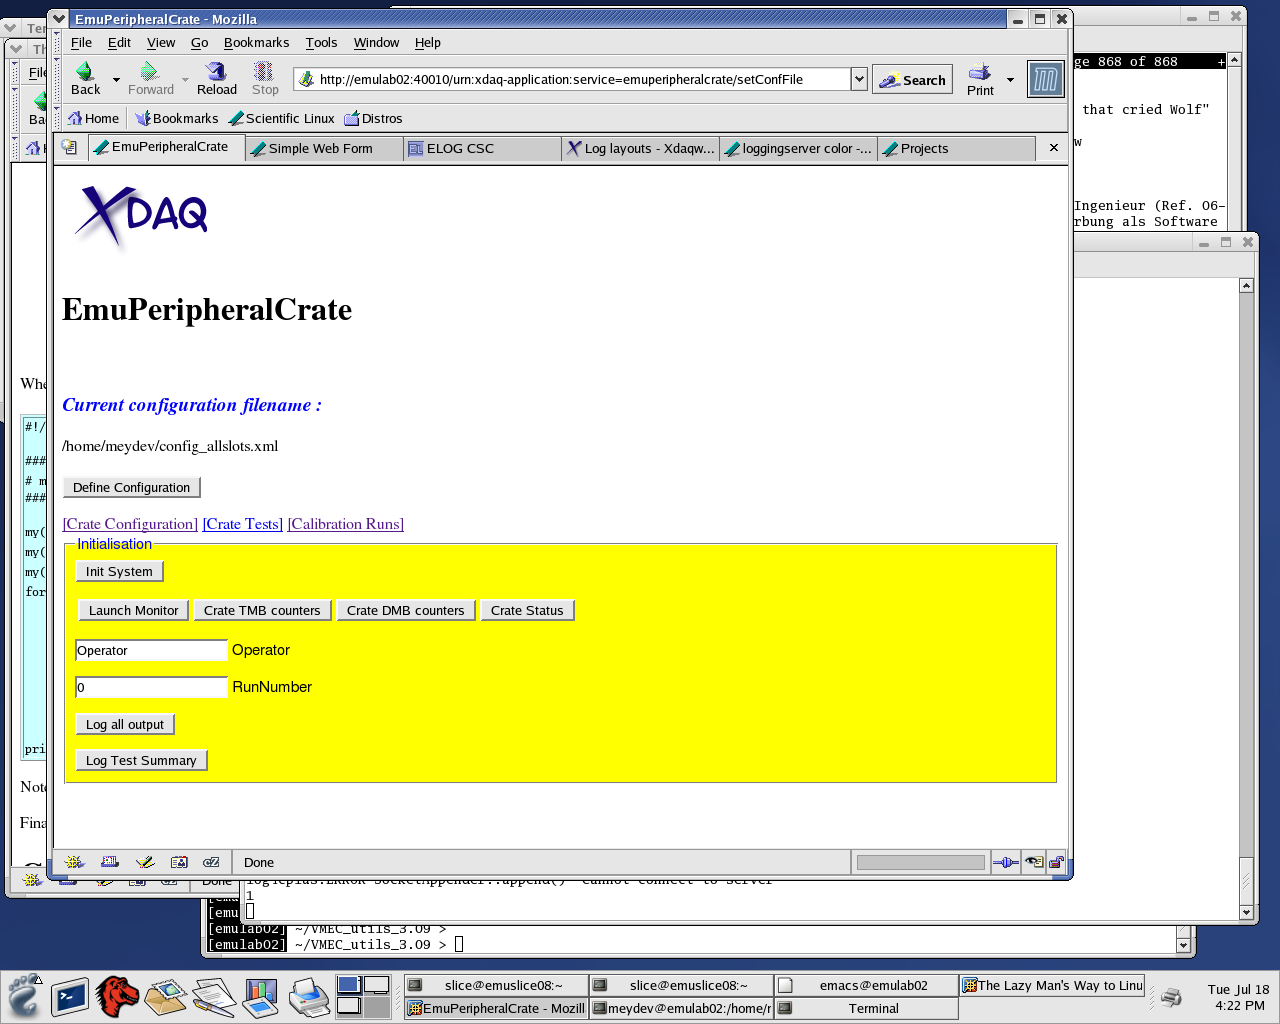
-Now you can enter the PC application by clicking the EmuPeripheralCrate icon.
-You will then find yourself with following webpage :
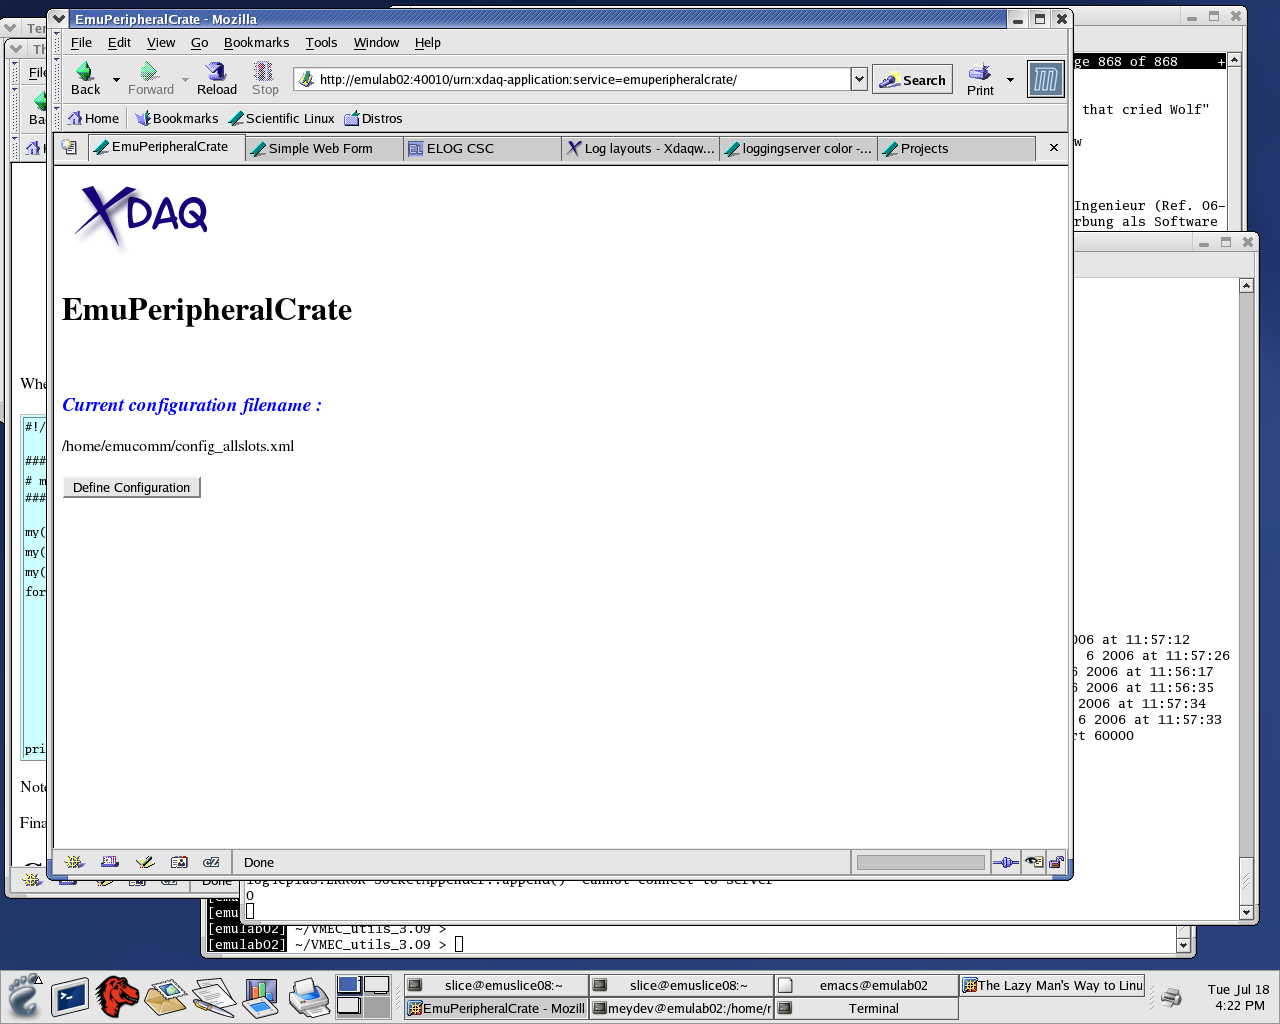
-This page tells you what the default configuration file is taken from the config file.
-Pressing "Define Configuration" will take you to following webpage :
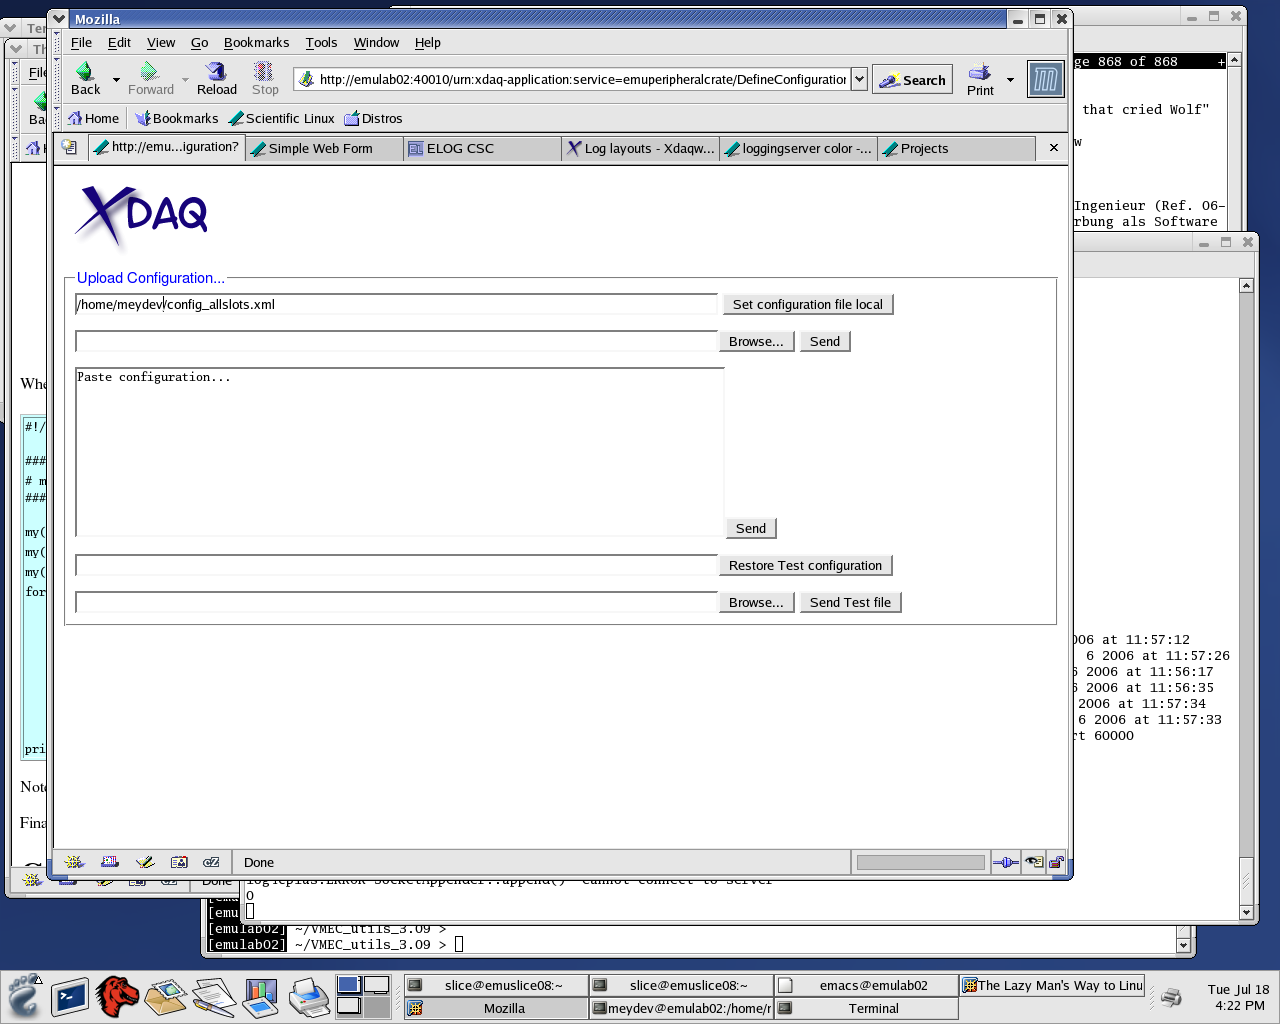
-In here you can enter the configuration filename you want to use.
-After doing so press the "Set configuration file local" button
-And...
-This menu displays the different submenus you have for the PC.
-The "Init System" button will initialize the peripheral crate with the loaded settings.
- For the case of the slicetest you need to configure for crates : Me2, Me3, Me1a and Me1b. The configuration files are located at slice@emupc:~/config
and are called :
- configWinter2005ME1a.xml
- configWinter2005ME1b.xml
- configWinter2005ME2.xml
- configWinter2005ME3.xml
- For configuring the slicetest you need to load each configuration using the "Define Configuration" button above and run "Init System" each time for each file. So 4 times for the slicetest.
- If for any reasons you encounter problems when configuring the crates you can also run the configuration of the crates directly using the EmuConfig commmand.
-To do so on emupc go to :
cd $XDAQ_ROOT/emu/emuDCS/PeripheralCrate/
-and execute :
bin/linux/x86/EmuConfig.exe -f configXX
-where for config you can choose one of the config files in ~/config directory.
Start FEDCrate:
- On another xterm connect to :
ssh emufed -l slice
- Now run :
~/startFEDCrate.sh
==> Now the FEDcrate xdaq application is running
- If you encounter problems here related to CAEN driver:
"Error in Opening CAEN Controller"
reload the drivers doing a :
loadCaen (you will need the root password for this)
on emufed.
-Connect to the FEDCrate XDAQ application using a web browser and use URL :
http://emufed:40100
-You should see something like :
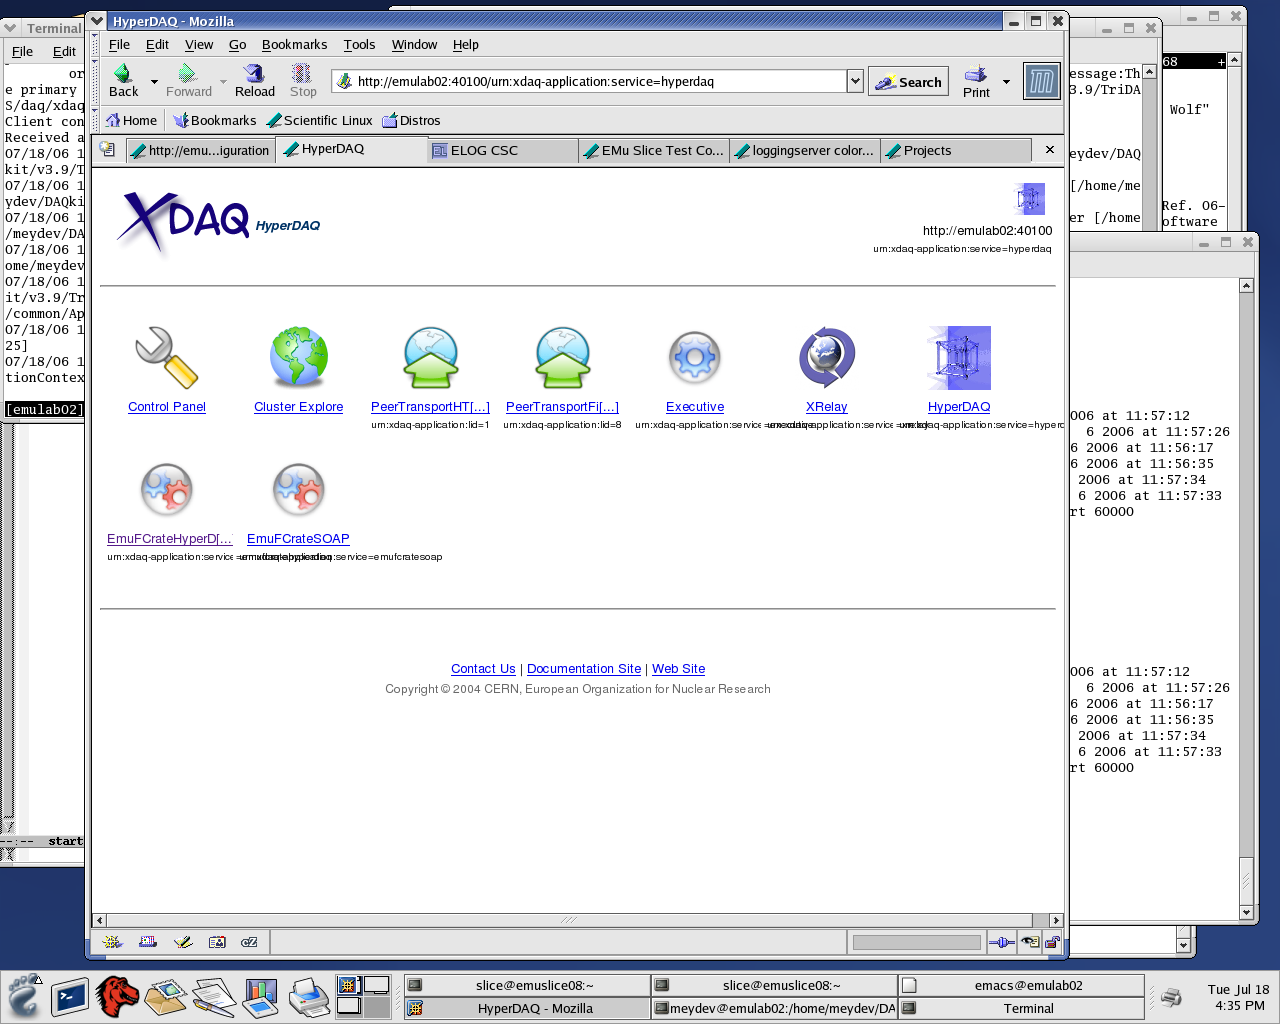
- In the next step you can acces the FEDCrate application clicking the EmuFCrateHyperDAQ icon.
- Doing so you will get following webpage :
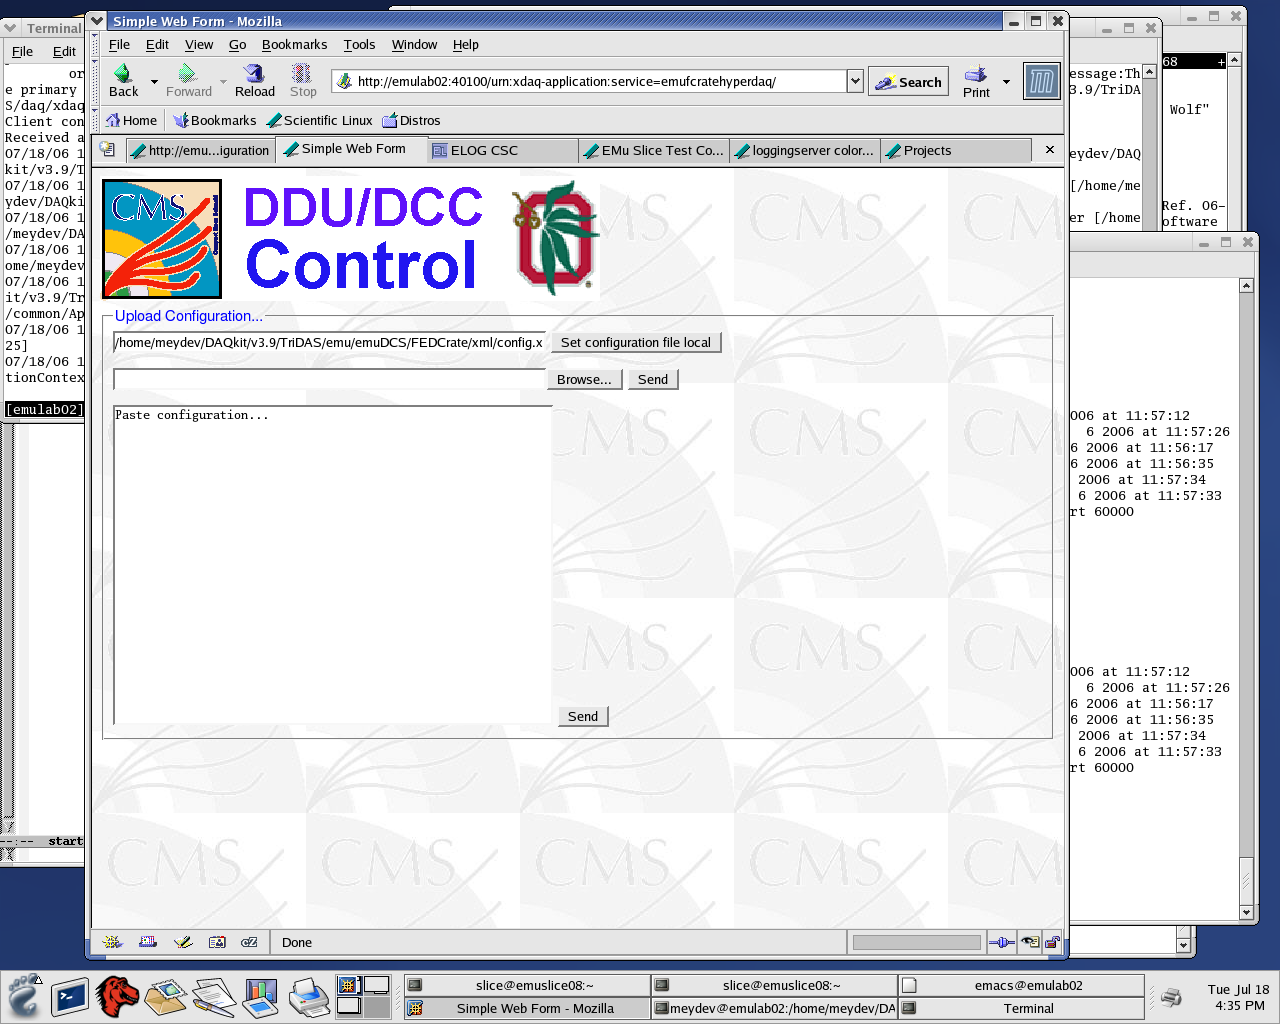
-Next accept the default configuration file by clicking the tab "Set configuration file local"
-The you will find yourself at :
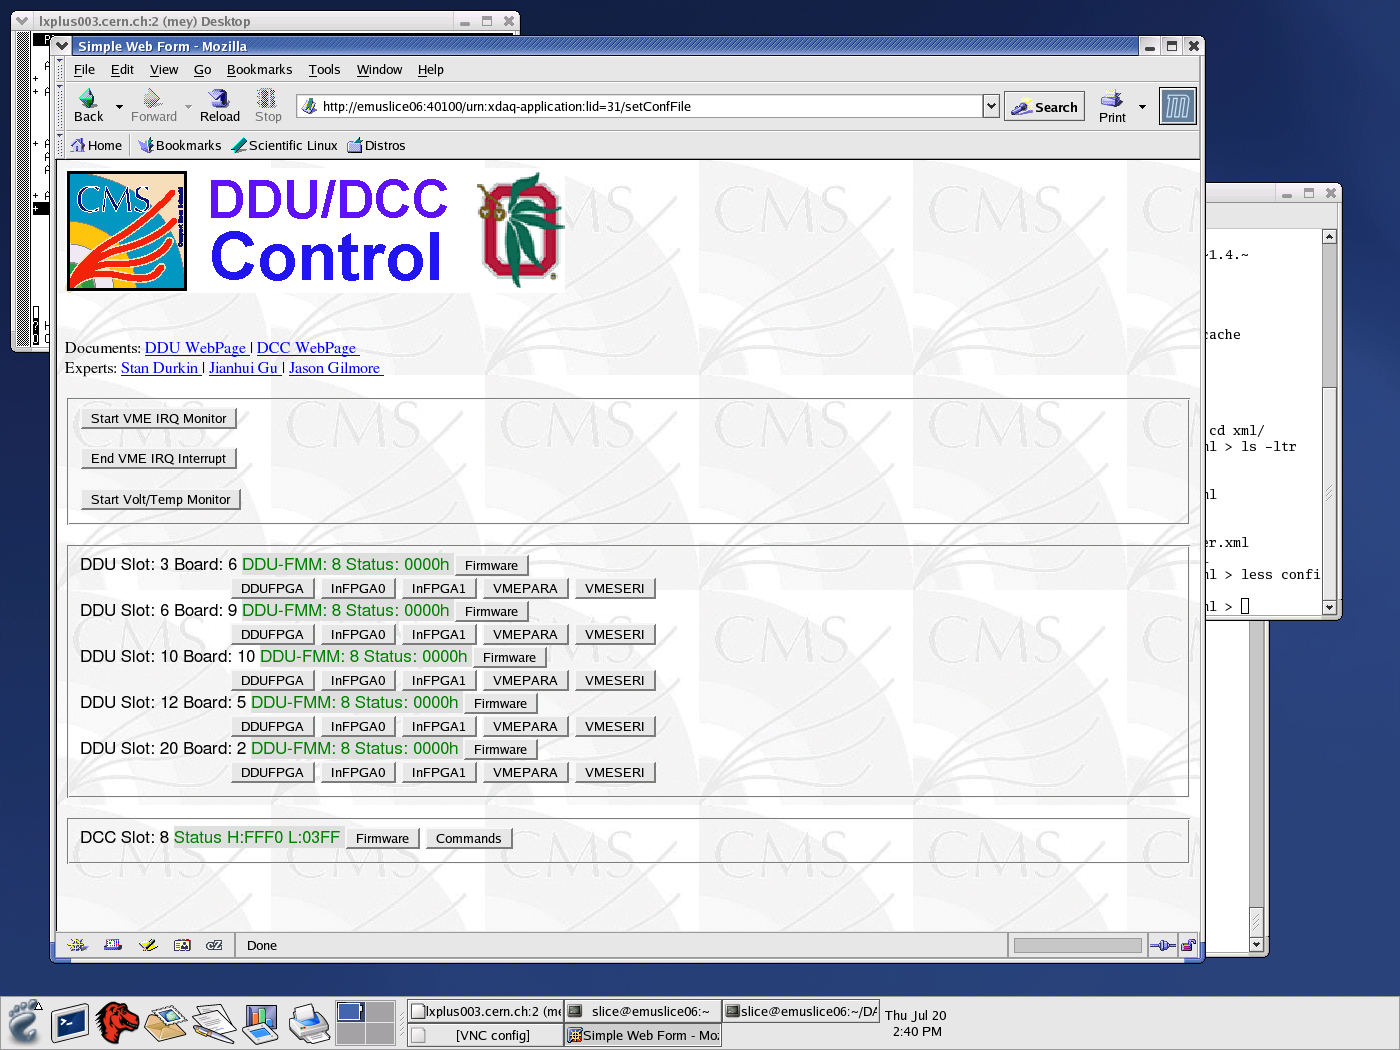
-This page displays the DDUs and DCC in the configuration file and their status. Entering the DDU and DCC tabs will give you expert information on the status.
Configure SP:
- Connect to emuslice09 as slice doing :
ssh emuslice09 -l slice
- Then go to the dan driectory :
cd dan
- Then execute :
./initSPforRealData (this sets up the SP)
- Then select the trigger mode using any of the ./trig_XX scipts.
Start TTC :
- The TTC xdaq application runs on emuttc as user ttc.
- On one terminal connect to :
ssh emuttc -l ttc
- Now run :
~/xdaq.sh -p 40110
==> Now the TTC xdaq application is running
- Connect to it using a web browser and go to following URL :
http://emuttc:40110
- You will get :
- The PeripheralCrate runs on emupc as user slice.
- Before starting the PeripheralCrate make sure that the drivers are loaded
- Connect to emupc using :
ssh emupc -l slice
- Do a /sbin/ifconfig. You will get following output :
- Make sure that you have entries for eth2 and eth3. If not you need to reset the driver. Do following :
cd $XDAQ_ROOT/emu/emuDCS/drivers/modules2OSUcc
Now as root do a :
./ethreset
Starting the PeripheralCrate xdaq application :
- On one xterm connect to :
ssh emupc -l slice
- Then launch 2nd xterm on emupc.
- In 1st xterm run :
~/startPeripheralCrate.sh
- In the 2nd run :
~/startLoggingServer.sh
==> Now the PeripheralCrate xdaq application and the logging server are running
-Connect to the PeripheralCrate xdaq application using a web browser and connect to following URL:
http://emupc:40010
- You should see following display :
-Now you can enter the PC application by clicking the EmuPeripheralCrate icon.
-You will then find yourself with following webpage :
-This page tells you what the default configuration file is taken from the config file.
-Pressing "Define Configuration" will take you to following webpage :
-In here you can enter the configuration filename you want to use.
-After doing so press the "Set configuration file local" button
-And...
-This menu displays the different submenus you have for the PC.
-The "Init System" button will initialize the peripheral crate with the loaded settings.
- For the case of the slicetest you need to configure for crates : Me2, Me3, Me1a and Me1b. The configuration files are located at slice@emupc:~/config
and are called :
- configWinter2005ME1a.xml
- configWinter2005ME1b.xml
- configWinter2005ME2.xml
- configWinter2005ME3.xml
- For configuring the slicetest you need to load each configuration using the "Define Configuration" button above and run "Init System" each time for each file. So 4 times for the slicetest.
- If for any reasons you encounter problems when configuring the crates you can also run the configuration of the crates directly using the EmuConfig commmand.
-To do so on emupc go to :
cd $XDAQ_ROOT/emu/emuDCS/PeripheralCrate/
-and execute :
bin/linux/x86/EmuConfig.exe -f configXX
-where for config you can choose one of the config files in ~/config directory.
Start FEDCrate:
- On another xterm connect to :
ssh emufed -l slice
- Now run :
~/startFEDCrate.sh
==> Now the FEDcrate xdaq application is running
- If you encounter problems here related to CAEN driver:
"Error in Opening CAEN Controller"
reload the drivers doing a :
loadCaen (you will need the root password for this)
on emufed.
-Connect to the FEDCrate XDAQ application using a web browser and use URL :
http://emufed:40100
-You should see something like :
- In the next step you can acces the FEDCrate application clicking the EmuFCrateHyperDAQ icon.
- Doing so you will get following webpage :
-Next accept the default configuration file by clicking the tab "Set configuration file local"
-The you will find yourself at :
-This page displays the DDUs and DCC in the configuration file and their status. Entering the DDU and DCC tabs will give you expert information on the status.
Configure SP:
- Connect to emuslice09 as slice doing :
ssh emuslice09 -l slice
- Then go to the dan driectory :
cd dan
- Then execute :
./initSPforRealData (this sets up the SP)
- Then select the trigger mode using any of the ./trig_XX scipts.
Start TTC :
- The TTC xdaq application runs on emuttc as user ttc.
- On one terminal connect to :
ssh emuttc -l ttc
- Now run :
~/xdaq.sh -p 40110
==> Now the TTC xdaq application is running
- Connect to it using a web browser and go to following URL :
http://emuttc:40110
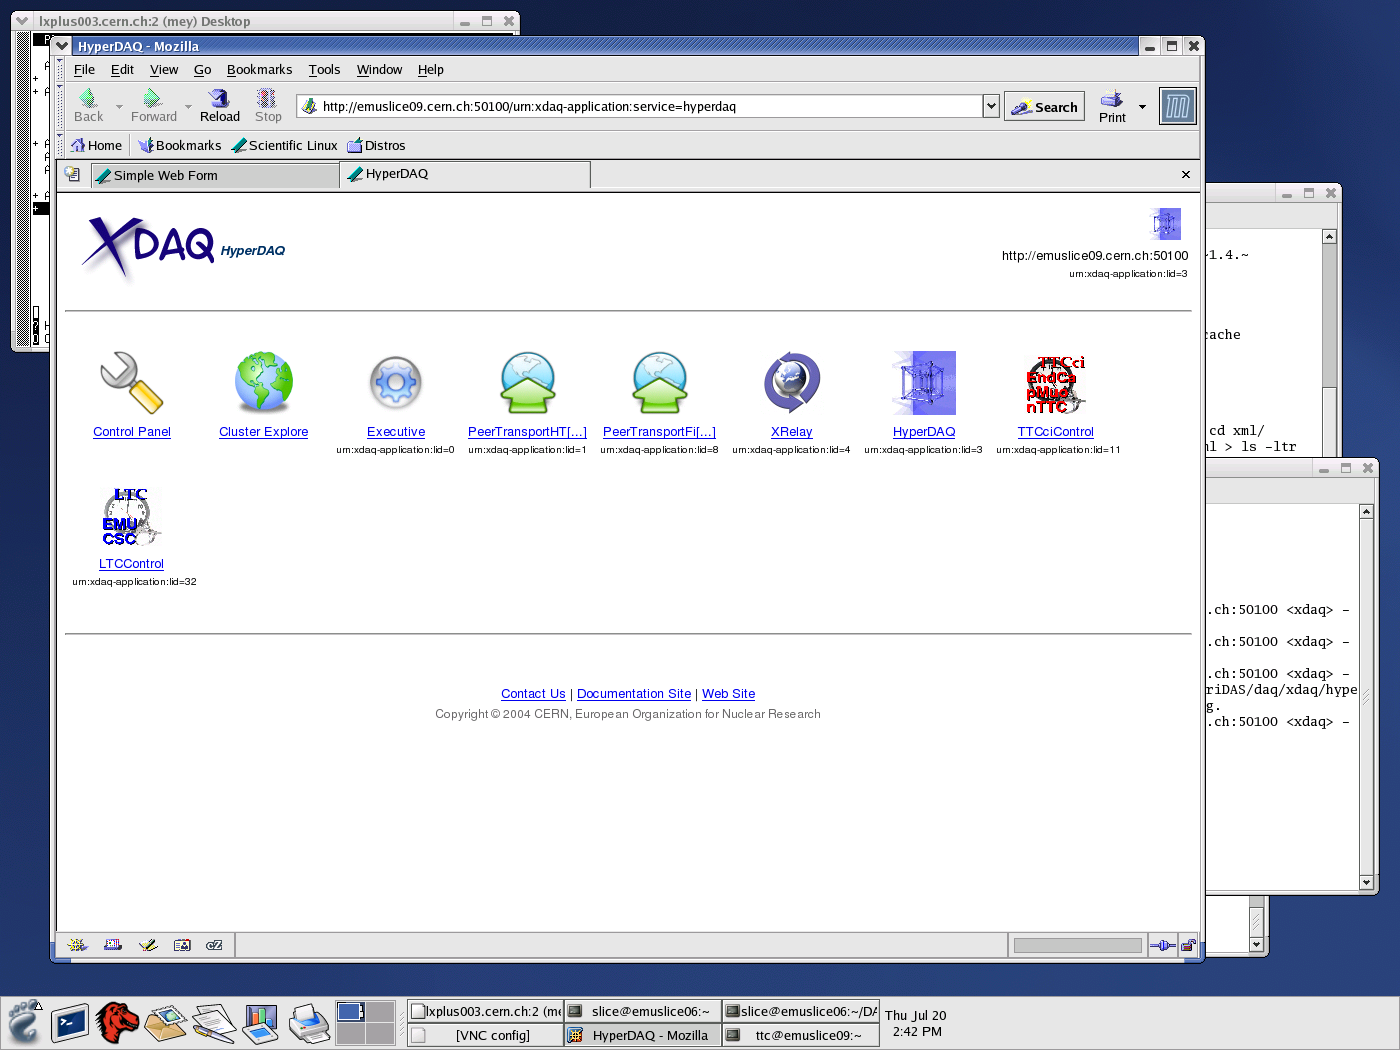
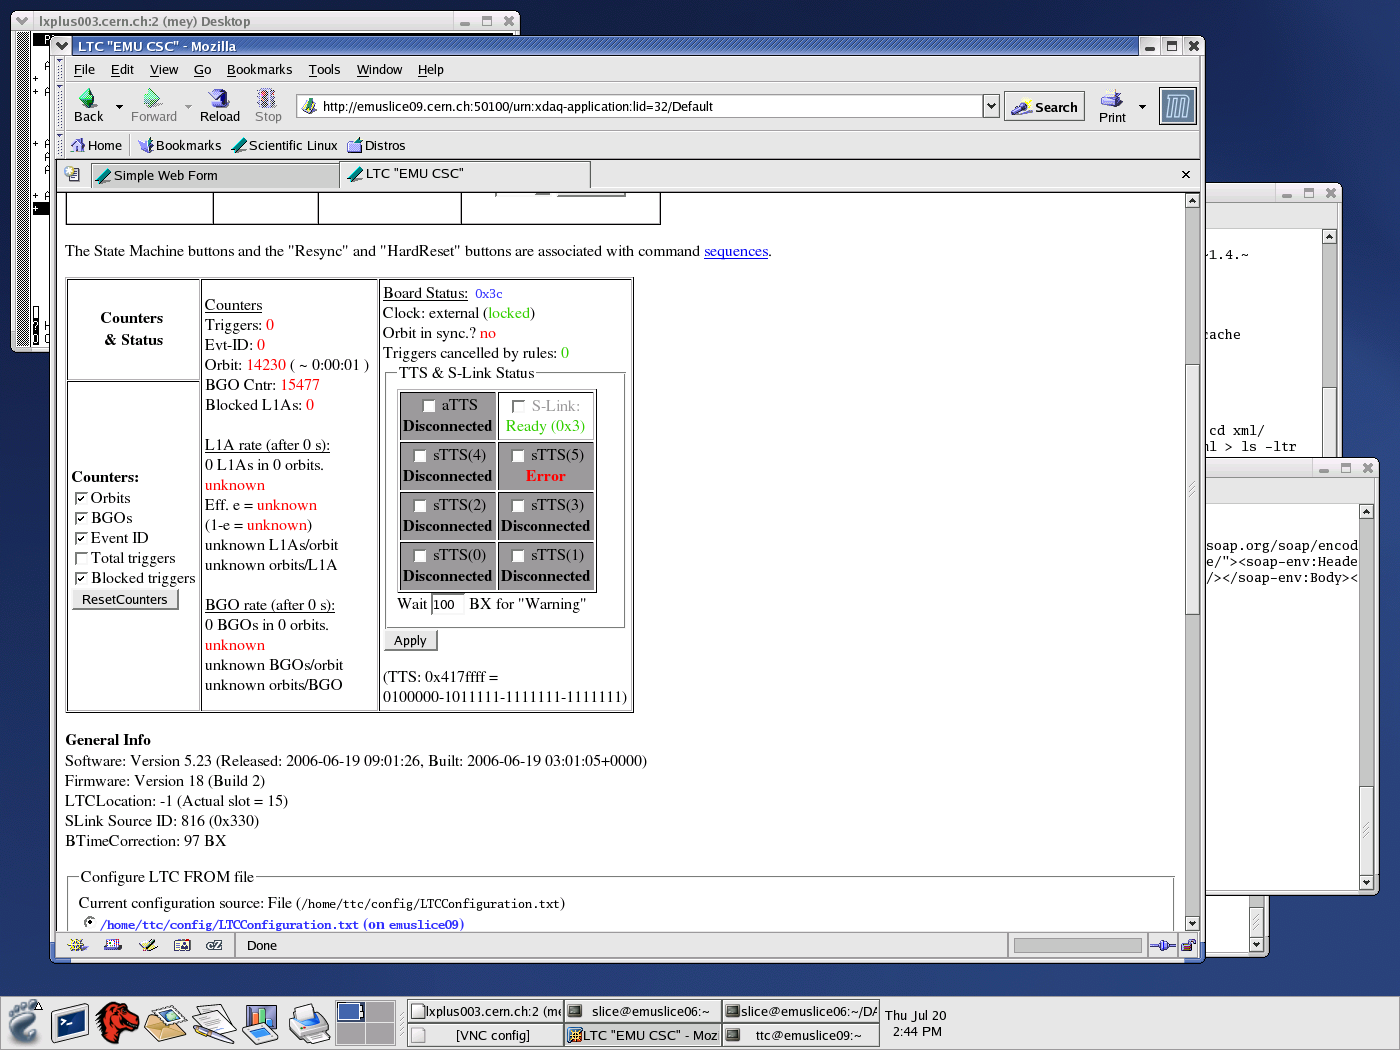
- You will get :
-Next
go into tthe "TTCciControl" tab
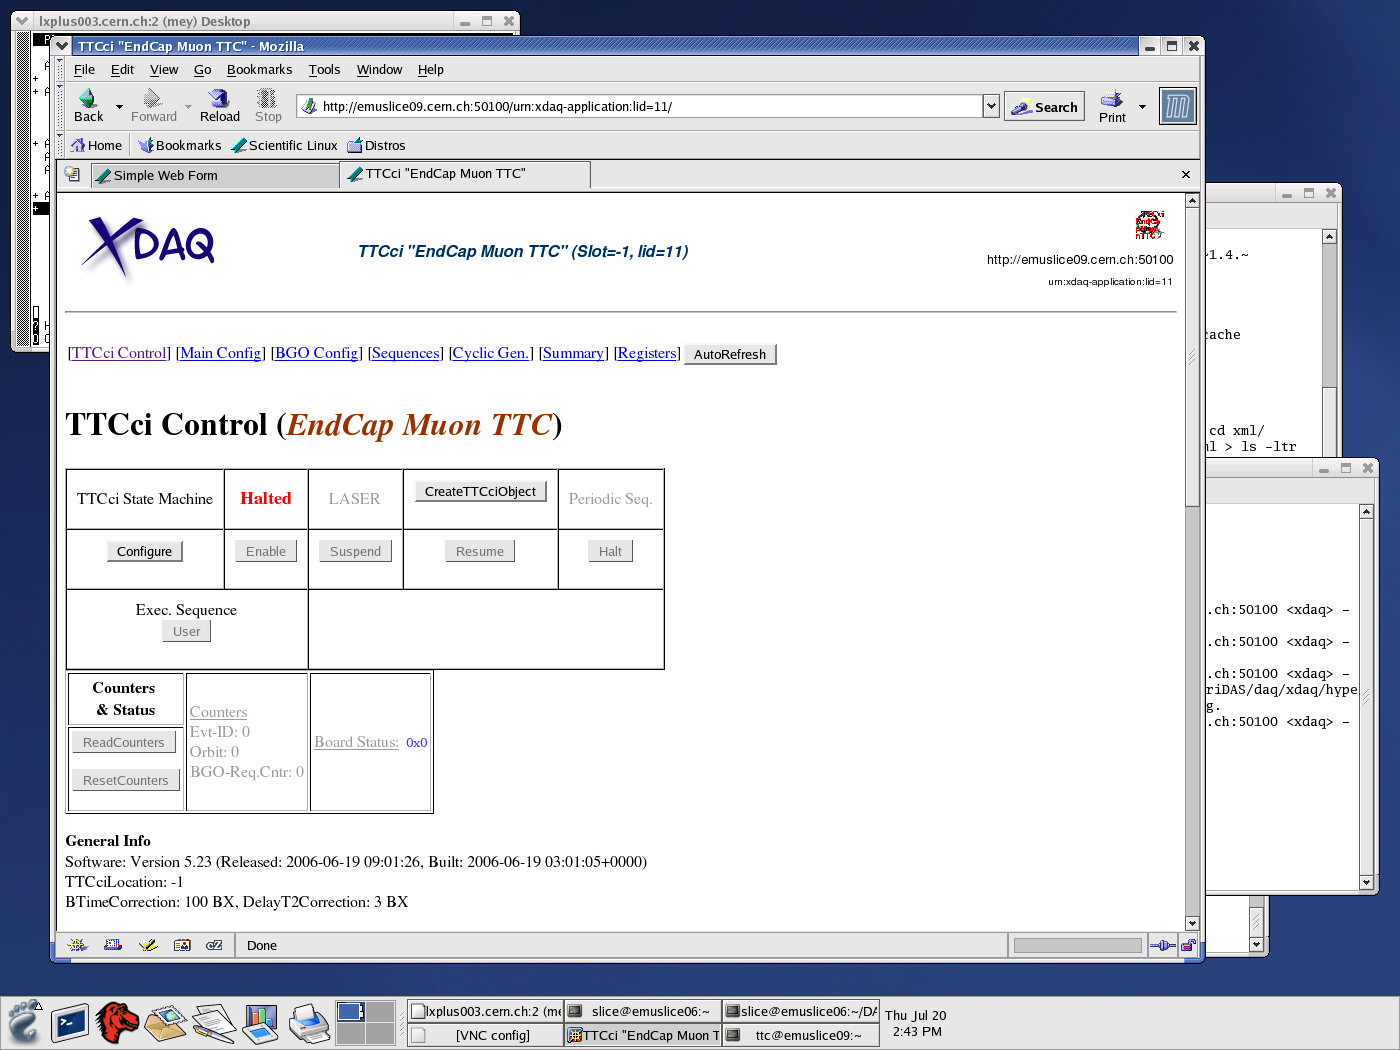
-Now you need to configure the TTCci control. Click the "Configure" button for that and the "Enable" afterwards.
-You will get:
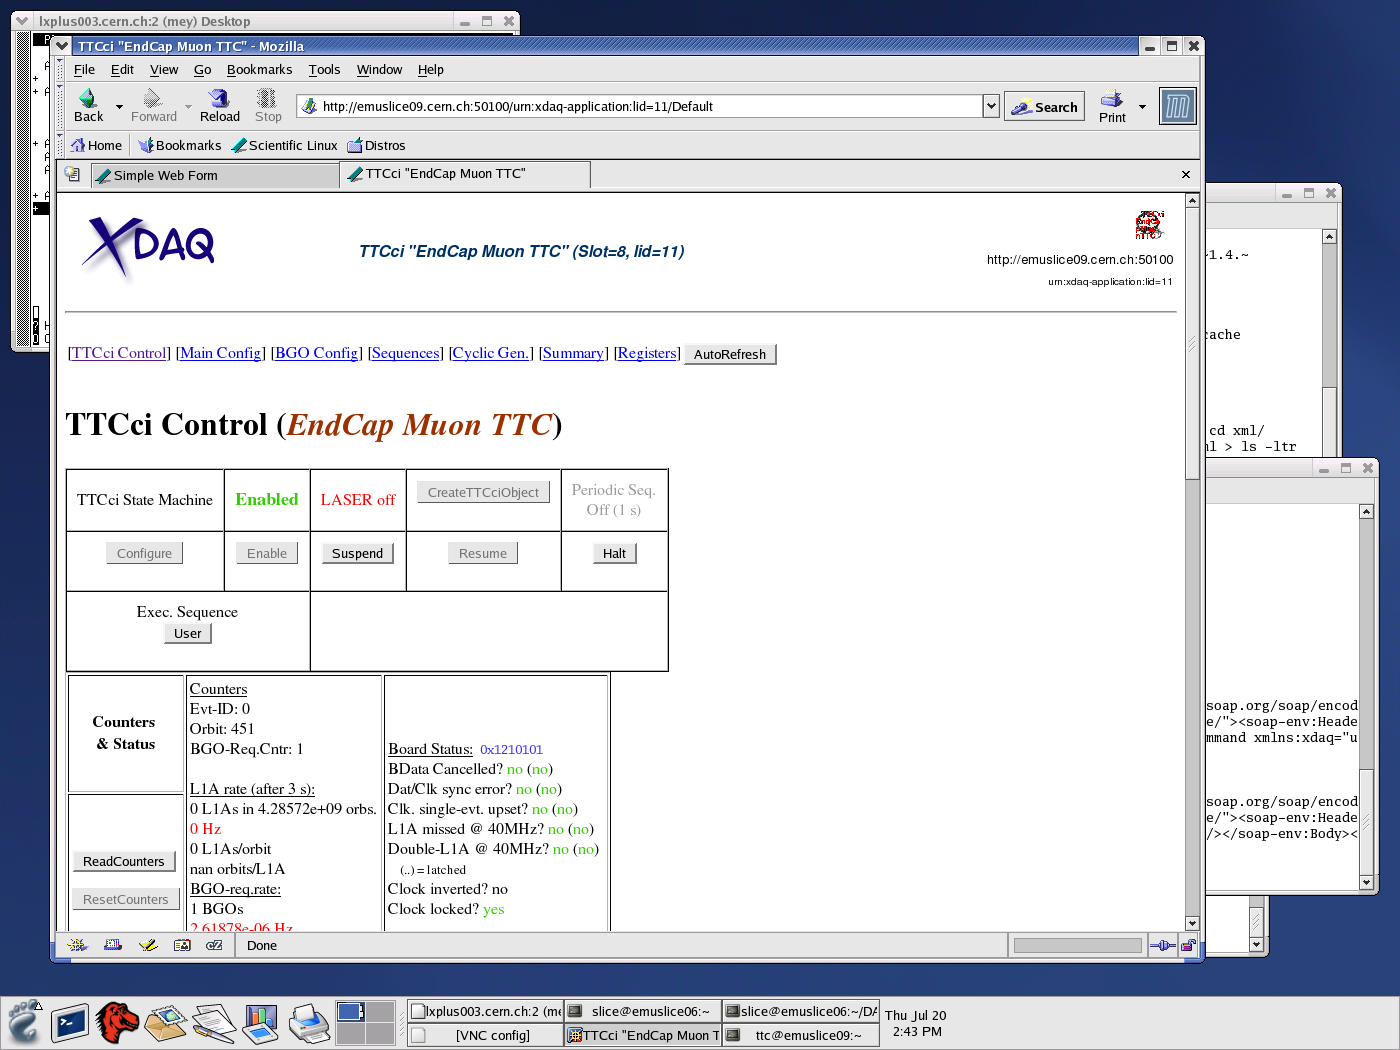
- Now go back and select the "LCTControl" tab. Then configure the LTC clicking on the "Configure" tab.
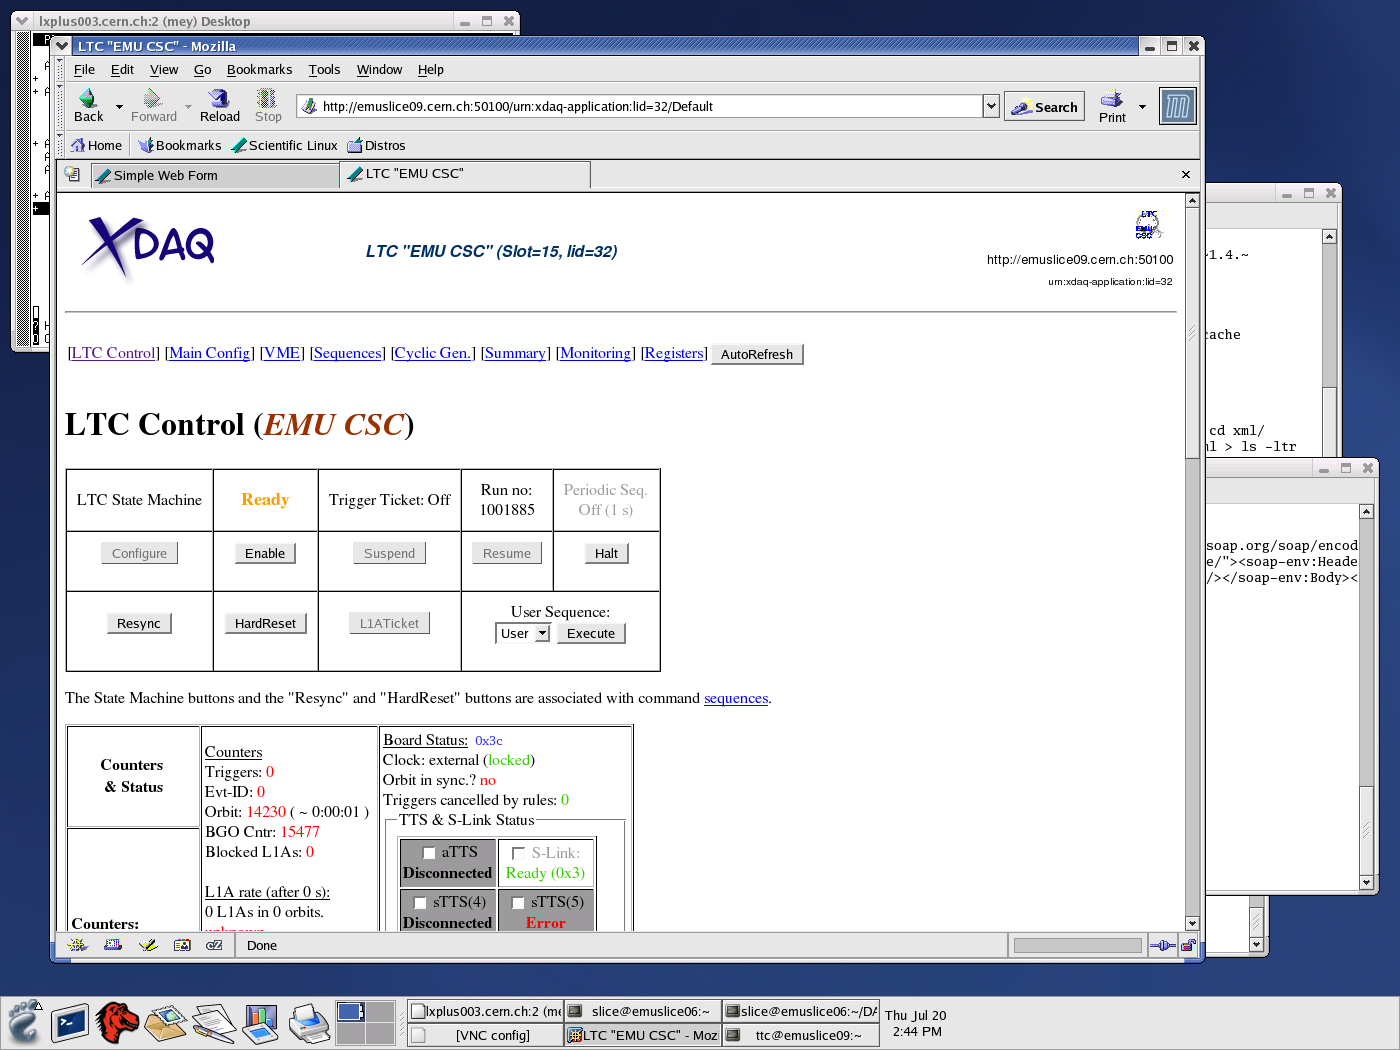
- Here you also find the HardReset tab that will send a hardreset to the electronics if needed. Afterwards you need to configure all componenets again.
- At the bottom of the same page you will find status about the TTS system. If everything is configured right, you shouldn't see any "Error" like below.
-Now you are ready to start the run.
-To resync the system click on "Resync" and to start click "Enable"
-The system should start to trigger now. You should see a non-zero L1a rate and the Triggers counter incrementing.
- If so, go to the FEDcrate webpage and check under the DDU tabs at the bottom if all chambers are sending ALCTs, TMBs and CFEBs :

Run calibration:
- If TTC is present make sure that the LTC is disabled. For this make sure it is in the "Halt" mode.
- Then in order to run calibration go to the PeripheralCrate webpage :
- Here again select the configuration file for the crate you want to run calibration for and configure it.
- Now you have to make sure on the DDU that it will accept the data coming from the DMBs for the crates you are pulsing. For this you need to find out what DDU corresponds to the crate you are calibrating and enable the fake l1a emulator on the corresponding DDU.
- To do so go into the DDU tab for the corresponding DDU in the FEDCrate Application.
- Inside the corresponding DDU tab you will find a field to enable the fake L1a. Set it to "ffff" and press set. The readback will be 8787. Don't set it again since it toogles and will then disable the fake L1a generation again.
- The 8787 enables the fake L1a generation.
- Now you are ready to start the calibration.
- Make sure localDAQ is running and configured.
- Then to the PeripheralCrate XDAQ application and go inside the "Calibration Runs" tab.
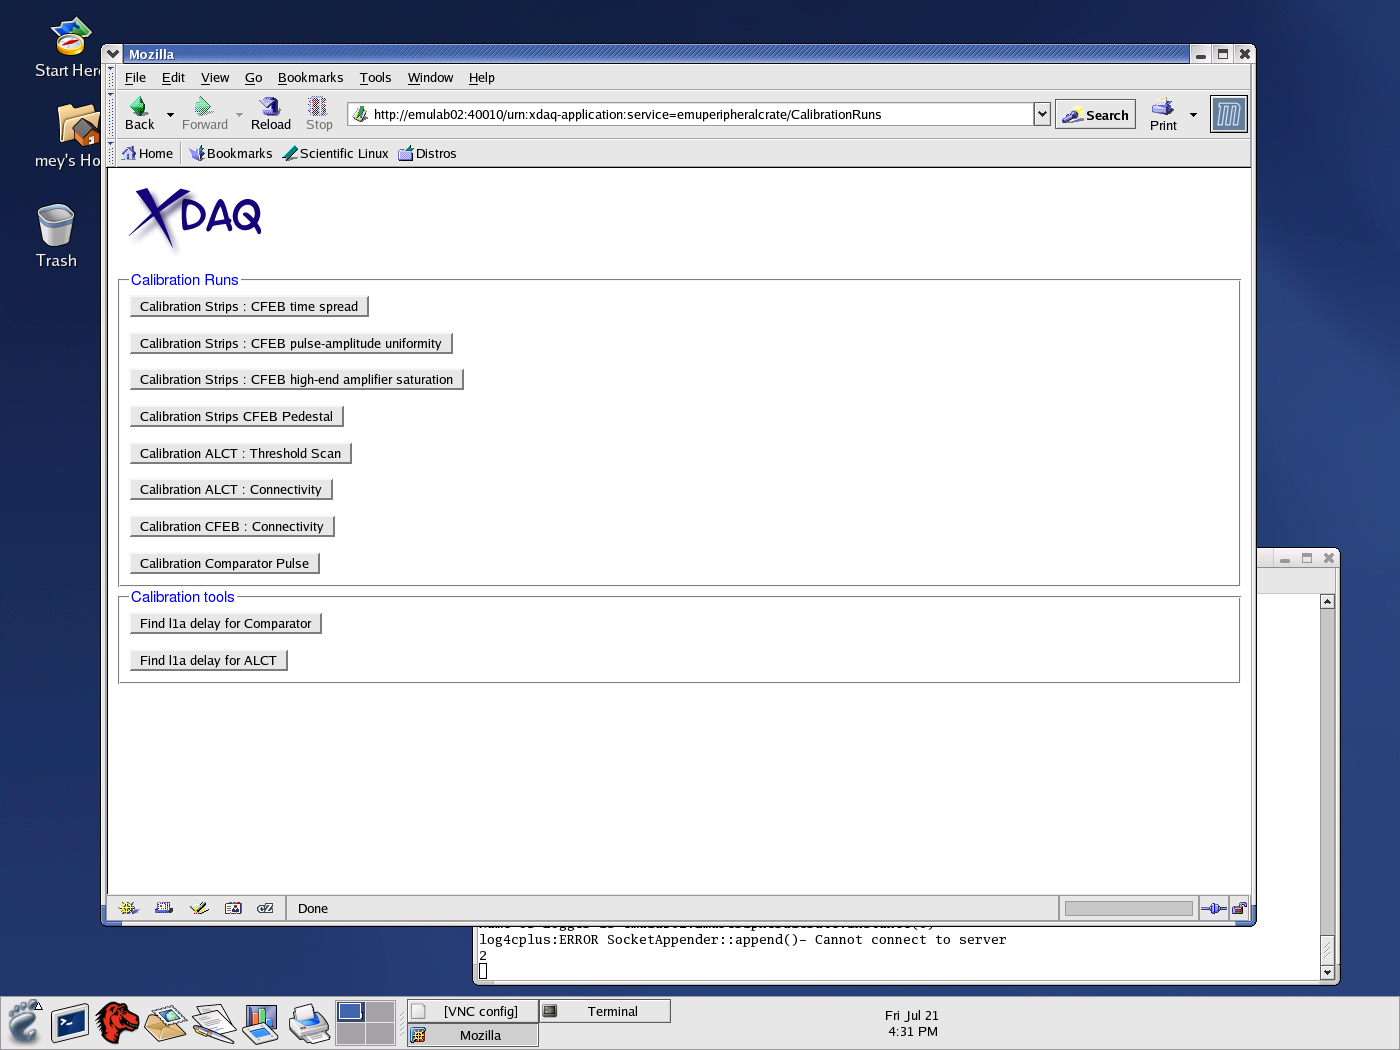
- and select the calibration run you want to run.
- It will start then.
- Inside the DDU tab you can monitor again the events that are being recorded.
- Also the localDAQ will tell you how many events got to file.